Dental implants are now in wide use all over the world and are often considered the standard of care for the replacement of missing teeth. It is estimated that over 5.5 million implants were placed in 2006. According to a recent report by GBI research, over 3 million Americans have dental implants with an expected growth over 500,000 more every year. It is easy to understand why given the numerous benefits of dental implants and success rates over 95%. That said, the prevalence of implant complications such as peri-mucositis or peri-implantitis is on the rise. Data compiled in a report published by AAP in April 2013 found that anywhere from 6-48% of all implants are experiencing these complications. In a busy practice, that number of complications may have serious consequences and prove very bad for business. The good news is that this problem is 100% preventable! All you need to do is establish an implant maintenance protocol to identify risk factors, ensure proper cleaning, and identify problems early on.
It is easy to understand why a lot of clinicians do not have an established protocol. The placement of dental implants became exceedingly common since the early 90s, however, knowledge regarding proper care and maintenance has not. There are no established guidelines regarding instrumentation, record-taking, or frequency. Most doctors and hygienists are confused about if we should even probe them, and with what? As a periodontist, I am often asked these questions and have sought to establish guidelines based on available research to establish an effective preventive implant maintenance program.
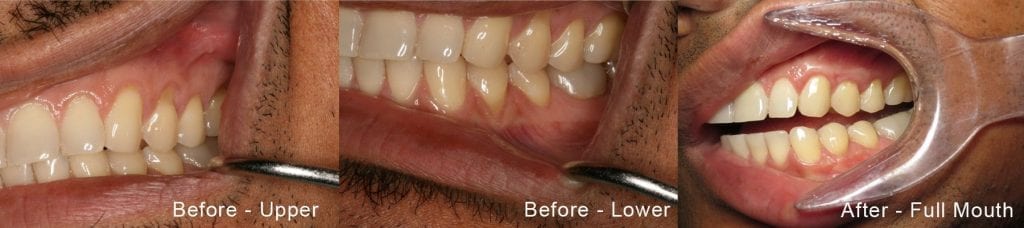
Part one of this series discusses the early phases of implant therapy, from the initial consult to the restoration. The second phase of implant therapy is maintenance. It is critical to establish a baseline within a few weeks of restoration for future reference. I like to evaluate all implants about 2 months after restoration. I take baseline radiographs and probing depths, and evaluate the patient’s oral hygiene. This appointment also gives me an opportunity to evaluate the final restoration and ease of access for oral hygiene. By this time, patients have also had some time getting acquainted with their new prosthesis and will often express to me if they are unable to easily floss the area, or are otherwise unhappy or concerned. If needed, I provide them with a new oral hygiene aid such as a proxabrush, and review home care. I now also take time to explain the importance of periodontal maintenance of their implant and schedule them for maintenance in 3 months, regardless of where they are in their current recall regimen. The clock is essentially re-set.
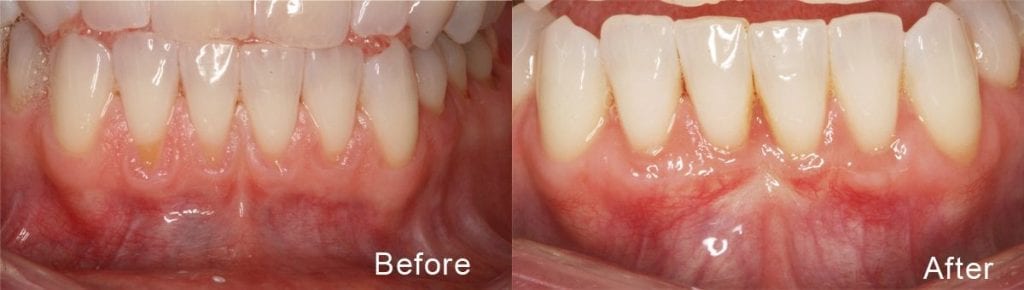
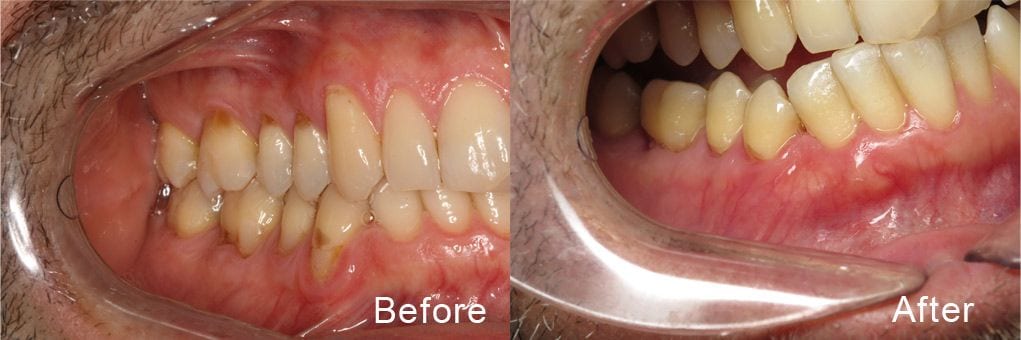
Fast forward 3 months. Now what? Check for signs of inflammation. Visually evaluate the area. Are tissues pink and appear healthy? I recommend gently sweeping a probe through the sulcus, but not to the depth of the sulcus. The peri-implant attachment is very delicate and I try to avoid insult whenever possible. Here we face a common source of confusion and misconceptions. It is completely OK to probe an implant with a metal probe. In fact, the only time I use a plastic one is if the implant is severely overcontoured and a metal probe will not flex enough to pass through the gingiva down to the base of the sulcus. I am not worried about scratching the abutment since numerous studies have shown a small scratch on an abutment is of little concern. However, I do not probe on every maintenance visit the same way I do around teeth. It is important not to probe with too much force, and risk violating the delicate gingival attachment, inducing peri-implant inflammation. If there are no other signs of a problem (the patient is asymptomatic, gingival tissues appear pink, and there is no bone loss), then I simply sweep the probe through the sulcus. If there is any bleeding or other exudate then an accurate probing depth is required, otherwise proceed with the prophylaxis as usual.
Now comes the million-dollar question: with what do you clean the implant? I have spoken with numerous hygienists about this and some confess that they are so confused they barely even touch it. There are several instruments available that claim to be ideal for cleaning implants, but some of them aren’t even effective enough to remove biofilm. Luckily, a recent article by Schmage, et al. shines some much needed light on the topic. Researchers compared the cleaning effectiveness (% remaining biofilm) of a manual plastic curette, manual carbon fiber-reinforced plastic curette (CFRP), sonic-driven prophylaxis brush without prophy paste (Sonic-flex clean), rubber cup with prophy paste, sonic-driven PEEK plastic tip (polyether ether ketone; Sonic-flex clean), ultrasonic-driven PEEK plastic tip (Piezon Master 400), and air polishing with glycine powder (Cavitron Prophy Jet). Both smooth polished surface and roughened surface acid-etched titanium disks where cultivated with Strep. mutans for 3 days to establish a biofilm. Each cleaning method was performed according to manufacturers recommendations for 5 minutes. Researchers found that only the sonic and ultrasonic PEEK plastic tips as well as air polishing sufficiently removed biofilm (<4% remaining). Furthermore, the rubber cup, plastic and CFRP curettes had significantly lower cleaning effectiveness than the other methods. All methods resulted in similar surface damage (scratching), and the rubber were not preferable due to residual rubber particles found left on the titanium disks.
While highly insightful, one shortcoming of this article was the limited number of products tested. One particular product I prefer for the removal of cement or hard deposits are the Wingrove titanium scalers. I attended a lecture by Dr. Wingrove a few years ago and found her argument for the development and use of these scalers highly convincing. Ms. Wingrove argued that in addition to cleaning effectiveness and limited surface damage, we should also be concerned about residual particles remaining in the sulcus. She shared years of research that concluded that titanium was the ideal material for implant maintenance since it left the least debris. There are also plastic covers for ultrasonic tips, carbon composite ultrasonic attachments for piezoelectric handpieces, and many alternative instruments on the market. Future research is still needed to determine what to guide us in our clinical decision-making on this subject. For now, I prefer to use an ultrasonic tip with a PEEK plastic tip. Careful air polishing with glycine powder or gentle hand scaling with titanium scalers is equally efficacious. The use of lasers to clean implant surfaces has not yet been thoroughly researched but they do not appear to damage the implant surface. Cleaning effectiveness or damage to surrounding gingival tissues has not been sufficiently evaluated.
Finally, I recommend 3-month recall for all implant patients for the first 2 years with yearly periapical Xrays, and bitewing for posteriors (making sure the crestal bone is fully visible-if not take a vertical bitewing). This is based on the fact that early implant complications often occur in the first 2 years. If the patient does not have a history of periodontal disease, is systematically healthy, and has good home care, they are placed on a 6-month recall, with at least one of those yearly visits in my office. If bone loss, bleeding, exudate, or any other sign of inflammation occurs, the patient is referred back to my office for treatment. Management of implant complications will be addressed in the final article of this 3-part series.
To conclude, it is imperative that if there are patients with dental implants in our office, we need to establish evidence-based guidelines to prevent inflammation-based implant complications. Hopefully, more research will emerge soon to better guide us in our clinical decision-making.
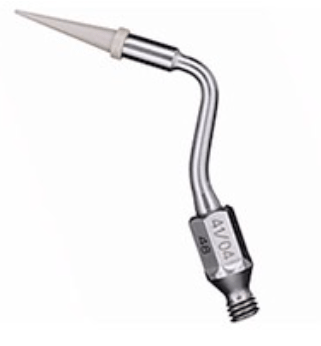
Carbon composite ultrasonic tips
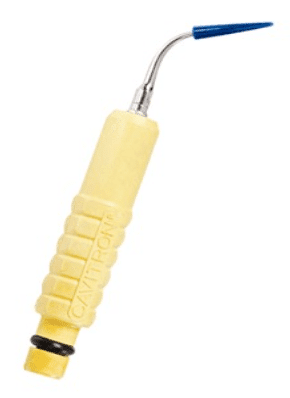
Cavitron with plastic implant tip
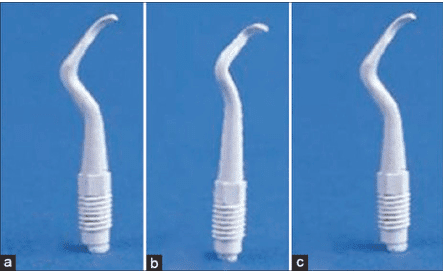
Sonicflex ultrasonic with PEEK plastic tip
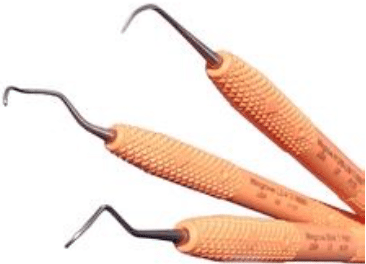
Titanium Wingrove scalers
1 Albrektsson, Chen, Cochran, Bruyn, Jemt, Koka, Nevins, Sennerby, Simion, Taylor, Wennerberg; Int J Periodontics Restorative Dent 2013;33:9-11
2 Schmage, Kahili, Nargiz, Scorziello, Platzer, & Pfeiffer. Cleaning effectiveness of implant prophylaxis instruments. Int J Oral Maxillofac Implants 2014;29:331-337

 Dental implants
 By Tina Beck-Mayo, DDS, MS